Start with four states: waiting, called, serving, and completed. This covers the full lifecycle without adding unnecessary complexity. You can add states like "no-show" or "returned" later as your workflow matures.
Core Waitlist Principles
Visibility is the foundation of every effective waitlist. When customers can see their position and estimated wait time, they make better decisions about whether to stay. Uncertainty is the top reason people abandon a queue — not the wait itself. A transparent waitlist turns a frustrating unknown into a manageable expectation.
Communication keeps the relationship alive between join and service. A silent waitlist feels broken. Customers wonder if they were forgotten, if the system is working, or if they missed their turn. Even a single confirmation message at join time dramatically reduces walkaway rates because it proves the system acknowledged them.
Queue ownership means one person or system is always responsible for advancing the line. When ownership is unclear — when any staff member might call the next person but nobody is specifically assigned — gaps appear. Customers get skipped, positions drift, and trust erodes. Assign a queue owner per shift or let your software handle the sequencing automatically.
Consistency ties everything together. The same rules should apply every time a customer joins, regardless of how busy you are. If your process changes under pressure — skipping confirmations, ignoring positions, letting VIPs cut — customers notice and stop trusting the system. A consistent workflow is more important than a perfect one.
Waitlist Design Framework
Every waitlist entry moves through a predictable lifecycle. Defining these stages upfront gives your team a shared language and your customers clear expectations. The four-stage model below covers most service businesses without adding unnecessary complexity.
1
Joined (Waiting)
The customer has entered the queue and received a confirmation. They can see their position and estimated wait. This stage is where most of the waiting happens, and where visibility matters most. Keep the live position tracker accurate — stale data erodes confidence faster than a long wait.
2
Up Soon
The customer is one or two positions away from being served. This is the critical moment to send an "up soon" notification so they can start heading back. Timing this alert correctly prevents the awkward gap where their name is called but they are still five minutes away. Aim to send it when they are two positions out.
3
Now Serving
Their turn has arrived. The system (or staff) calls the customer and they move into active service. If they do not respond within your call window — typically two to four minutes — mark them as missed and advance the queue. Offer to re-queue rather than removing them entirely; it reduces confrontation and keeps the experience fair.
4
Completed
Service is finished. The entry moves to your history log where it feeds analytics: how long they waited, how long they were served, and whether they converted from the queue. Completed entries are the raw material for understanding your capacity and improving your staffing decisions over time.
Communication Timing
The goal of waitlist communication is to reduce uncertainty without creating noise. Every message should answer a question the customer is already asking themselves. Here is the notification strategy that works for most service businesses:
Join Confirmation
Sent immediately when the customer joins the queue. Confirms their position, gives an estimated wait time, and tells them what to expect next. This single message reduces "did it work?" anxiety and sets the tone for the entire wait. Include a link to their live position tracker so they can check back anytime.
Position Updates (Optional)
For longer waits (15+ minutes), a mid-queue update can help. Keep it brief: "You are now #4 in line. Estimated wait: 10 minutes." Do not send updates for every position change — it creates notification fatigue. One mid-queue update is enough for most businesses.
"Up Soon" Alert
Sent when the customer is one to two positions away. This is the most important notification after the join confirmation. It gives customers enough lead time to return to your location without rushing. Phrase it as actionable: "You are almost up — please head to the entrance."
"Your Turn" Call
The final notification. Their name has been called and they need to present themselves for service. Be clear about what happens if they do not respond: "Please check in within 3 minutes or we will move to the next guest." Setting this expectation upfront prevents awkward confrontations and keeps the queue fair.
Peak-Hour Operating Playbook
Rush periods expose every weakness in your waitlist process. The following practices keep flow stable when demand spikes and your team is stretched thin.
Shorten Your Call Window
During peak hours, reduce your call window from four minutes to two. Customers who joined a virtual queue know the drill — they are watching their phone. A shorter window keeps the line moving and prevents one unresponsive customer from creating a cascade of delays for everyone behind them.
Batch Similar Services
If your business offers multiple services, group customers by type during rushes. Serving three consecutive haircuts is faster than alternating between haircuts, beard trims, and colour treatments. Per-service queues make this easy — your staff can pull from the service queue that matches their current setup.
Monitor the Queue Dashboard Actively
Assign one person to watch the dashboard during peak times. Their job is to call customers, flag no-shows, and keep the queue advancing. When everyone is busy serving, the queue stalls unless someone is actively managing it. A dedicated queue manager during rush periods pays for itself in reduced walkaways.
Set Wait Time Expectations Early
When your queue grows beyond 20 minutes, update the estimated wait time shown to new joiners. Customers who see "25 min wait" before joining are far less likely to walk away at the 20-minute mark than customers who were told "10 minutes" and are now at 25. Honest estimates build trust even when the numbers are high.
Debrief After Every Rush
Spend five minutes after each peak period reviewing what happened. How long was the average wait? How many people left before being served? Were there any bottlenecks at a specific service or counter? These quick debriefs compound into real operational improvements over weeks, not months.
Weekly Review Metrics
You cannot improve what you do not measure. These five metrics give you a complete picture of how your waitlist is performing. Review them weekly to spot trends before they become problems.
Average Wait Time
The time between a customer joining the queue and being called for service. This is your headline metric. Track it by day of week and hour to identify when your queue gets backed up. If average wait climbs above your target, you either need more capacity during those windows or better queue throughput.
Drop-Off Rate
The percentage of customers who join the waitlist but leave before being served. A healthy drop-off rate is under 15%. If yours is higher, investigate whether the cause is wait time, communication gaps, or inaccurate time estimates. Each drop-off is a customer who was interested enough to join but lost patience before you could serve them.
Call-to-Arrival Latency
How long it takes a customer to present themselves after being called. High latency means your "up soon" notifications are not landing early enough, or customers are wandering too far. If this number is consistently above three minutes, send your "up soon" alert one position earlier to give them more travel time.
Staff Interventions per Hour
How often your team has to manually override the queue — skipping someone, re-ordering entries, or handling a complaint. Frequent interventions signal a process gap. A well-configured digital waitlist should run with minimal manual adjustments. If staff are constantly reordering, your service routing or position logic may need tuning.
Conversion-to-Served Rate
The percentage of customers who join the waitlist and actually receive service. This is the inverse of your drop-off rate and the number that matters most to your revenue. Track it weekly and set a target — 85% or higher is a solid benchmark for walk-in businesses. Every percentage point improvement represents real customers served and real revenue captured.
See It in Action
5-Minute Setup
Sign up, name your business, print your QR code. You're live in under 5 minutes — no hardware, no IT team.
No App Download
Customers scan your QR code with their phone camera. No app download, no account needed — works in any browser.
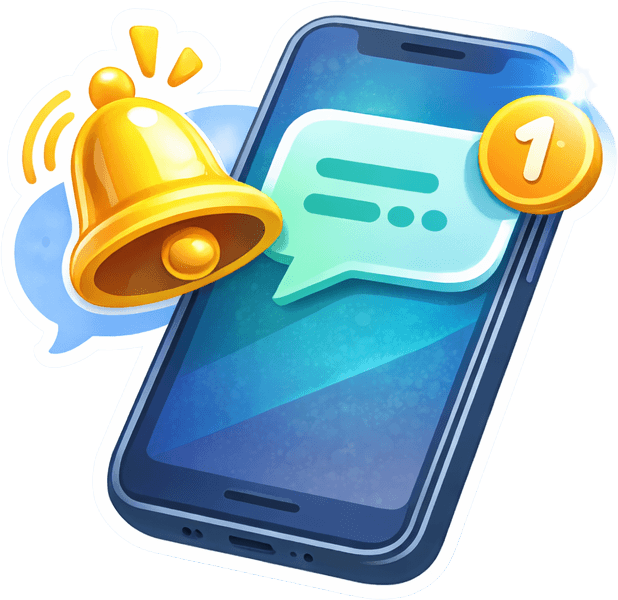
Instant SMS Alerts
Staff tap Notify. Customer gets an SMS within seconds with their queue status. No shouting names across the room.
Manual vs Automated Waitlist Management
How automation transforms every aspect of waitlist management.
| Aspect | Manual Process | Automated System |
|---|---|---|
| Check-in process | ✗ Staff writes name on paper | ✓ Customer scans QR code |
| Position tracking | ✗ Count names on clipboard | ✓ Live position in browser |
| Notifications | ✗ Shout name in lobby | ✓ SMS or WhatsApp alert |
| Wait estimates | ✗ Ask staff for a guess | ✓ Calculated from queue data |
| Reporting | ✗ No data captured | ✓ Full analytics dashboard |
| Staff time per customer | ✗ 2-3 minutes | ✓ Under 10 seconds |
Put these principles into practice
ScanQueue automates waitlist management so you can focus on serving customers, not managing lists.
Start Free TrialFrequently Asked Questions
No. Two to three key touchpoints are ideal: a join confirmation, an "up soon" heads-up when they are one or two positions away, and a final "your turn" alert. More frequent messages create notification fatigue and get ignored.
Proactive "up soon" notifications give customers time to return without rushing. Pair this with a short call window — if they don't respond within a few minutes, move to the next person and offer to re-queue them. This keeps the line moving and reduces dead time.
ScanQueue's free plan covers basic waitlist needs: one queue, real-time position tracking, and a QR code for customer self-join. No credit card required. Upgrade later for SMS notifications, multiple queues, and analytics.